Skin Care
The Smoky Eye Masterclass
A complete guide to the smoky eye: the blending technique, color selection for every eye shape, and step-by-step instructions for the most iconic evening eye look.
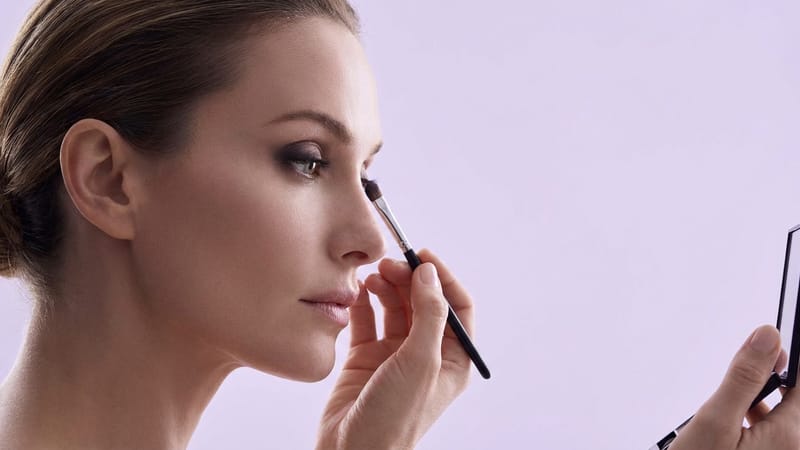
The smoky eye is the most iconic evening eye look for a reason. When done well, it creates a smoldering intensity that makes eyes look larger, deeper, and more captivating. It works on every eye color and every eye shape. But it is also the look most people struggle with, because the difference between a gorgeous smoke and a muddy mess comes down to blending technique and color placement. This masterclass breaks it down into clear, repeatable steps that work every time.
The Core Principle: Gradient, Not Smudge
A beautiful smoky eye is a smooth gradient from dark at the lash line to light at the brow bone, with no harsh lines and no muddy patches where colors mix into an indistinct brown. The key word is gradient. Every shade transitions seamlessly into the next, getting progressively lighter as it moves away from the lashes. This controlled transition is what separates intentional smoke from accidental mess.
The gradient requires patience and the right tools. Dense, flat brushes place color precisely. Fluffy blending brushes diffuse edges. A clean blending brush with no product on it is your most important tool, because it softens transitions without adding more pigment. Always blend with a windshield-wiper motion through the crease, moving back and forth rather than in circles, which muddies the colors.
Step-by-Step Classic Smoky Eye
- Prime the lid. Apply an eyeshadow primer or a thin layer of concealer over the entire lid from lash line to brow bone. Set it lightly with translucent powder. This creates a smooth, dry surface that shadow adheres to and blends over without grabbing.
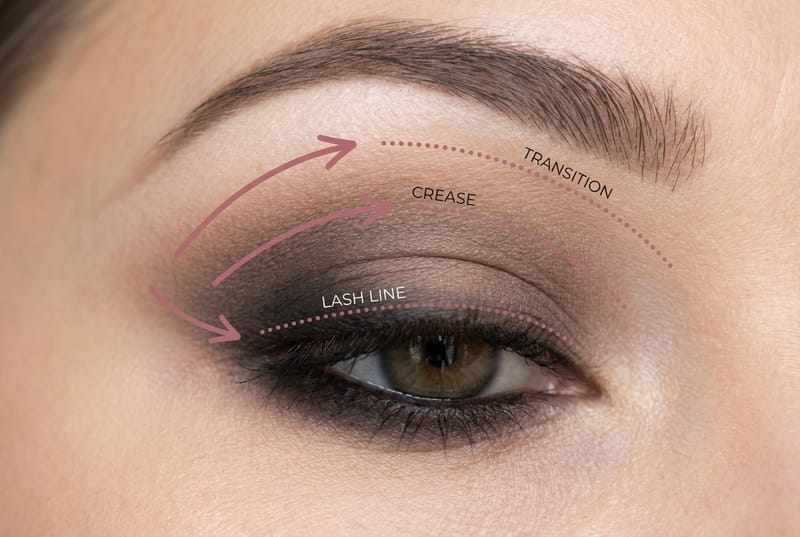
- Set your transition shade. Using a fluffy crease brush, sweep a matte shade two to three shades deeper than your skin tone through the crease and slightly above it. This is the bridge between your lid color and your skin, and it is the foundation of a seamless gradient.
- Apply the medium shade. With a slightly smaller brush, press a medium-dark shade onto the outer third of the lid and into the outer crease. Blend the edge where it meets the transition shade until no hard line remains.
- Pack on the deepest shade. Using a dense, flat brush, press the darkest color along the lash line and the outer corner of the lid. Build intensity gradually. You can always add more, but removing excess dark shadow without disturbing the layers beneath it is difficult.
- Blend, then blend again. With a clean, fluffy brush, work through the crease and the edges of each color. The goal is a seamless fade from dark to light with no visible lines where one shade stops and another starts.
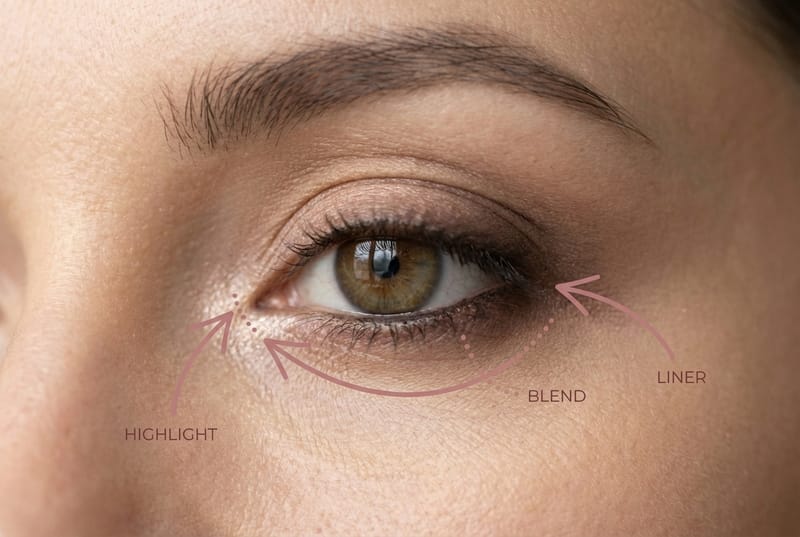
- Add highlight and line. Apply a light, shimmering shade to the inner corner of the eye and just below the brow bone. Then use a dark pencil or gel liner on the waterlines, and smudge a small amount of the medium shadow along the lower lash line, blending it into nothing at the inner corner to complete the smoky effect.
Choosing Colors for Your Eye Color
The classic black and gray smoky eye is universally flattering, but playing with color can make your eyes even more striking. The principle is to use shades that contrast with your iris color, which makes the color of your eyes appear more vivid.
- Brown eyes are the most versatile and look incredible with every smoky palette. Warm bronzes, coppers, and golds intensify the warmth, while cool plums and mauves provide beautiful contrast.
- Blue eyes pop against warm-toned shadows. Copper, bronze, warm taupe, and soft rust shades create a complementary contrast that makes blue eyes look electric.
- Green eyes are enhanced by purple-based shades: plum, eggplant, mauve, and warm burgundy. Hazel eyes can go either warm or cool depending on which flecks you want to bring out.
Adapting for Eye Shape
Hooded eyes benefit from extending the smoke above the crease so the color is visible when the eyes are open. Apply and blend with your eyes open, checking frequently, because the fold of the hood can hide work that looks perfect with the eyes closed. Monolid eyes look stunning with smoke that extends further across the lid and slightly beyond the outer corner, creating horizontal width that the crease would normally define. Deep-set eyes should keep the darkest shades close to the lash line and the crease light to avoid making the eyes recede further.
Yasmine face yoga strengthens the muscles around the eyes, which helps the lid area stay firmer and smoother over time. A toned, lifted eye area provides a better surface for eyeshadow application, reduces the hooding that can hide your work, and gives the eye a more open, youthful shape that makes every smoky eye more impactful.